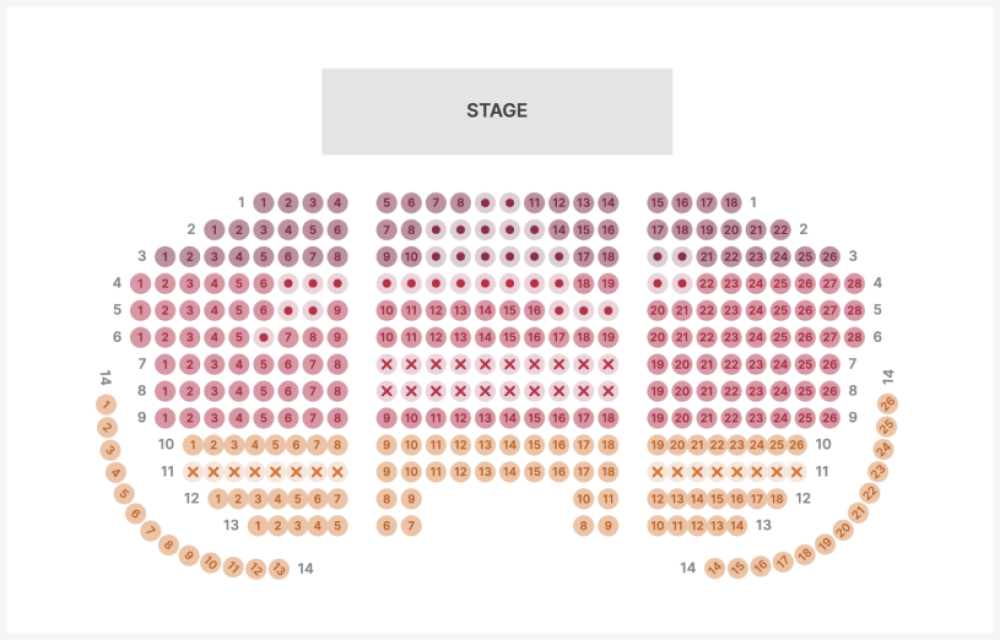
A Complete Guide to Setting Up and Using Reserved Seating
A Complete Guide to Setting Up and Using Reserved Seating
Reserved seating helps you offer a premium ticketing experience for events held at venues like stadiums, town halls, cinemas, restaurants, and lounges. With this feature, attendees can choose their exact seats in advance, improving their overall experience.
Key Features:
- Custom Seat Layouts: Arrange seats to match any kind of venue.
- Drag-and-Drop Editing: Move seats around easily to align with your seating chart image.
- Seat Blocking & Waiting List: Prevent double bookings by blocking seats as soon as a user selects them.
- Real-Time Availability: Other customers see blocked seats instantly, so no two users can book the same seat.
Requirements Before You Begin
-
Full Seating Arrangement Image:
You’ll need a clear, high-quality image of your entire seating layout. -
Cropped Images for Each Ticket Type:
Create separate images for each ticket category (e.g., Executive, VIP) so you can assign specific seats to different ticket types.
How to Add Reserved Seating to Your Event
-
Open the Event Edit Page:
Go to the Tickets tab. -
Create Your Tickets:
Set up your event tickets as usual. -
Access the Seating Chart Options:
Click the "Seating Chart" button. A pop-up will appear. -
Upload the Cropped Seating Image:
For each type of ticket, upload the corresponding cropped image. -
Add Seats:
- Click on each seat location in the chart to place a seat icon.
- Use drag-and-drop to reposition seats.
- Right-click a seat to rename it (e.g., Seat A1, Seat B2).
- If needed, disable certain seats so they can’t be booked. Disabled seats will still appear on the checkout screen as unavailable.
Note:
- You can only add up to the total number of tickets you’ve created.
- For General Admission (no reserved seating), simply do not add any seats.
-
Add the Full Seating Image in the Media Tab:
Finally, go to the Media tab and upload your main full-seat layout image under Seatingchart Image.
How Customers Book Their Seats
-
View Full Seating Arrangement:
On the event page, customers see the full seating layout. -
Select Tickets & Open Checkout:
When they select tickets, a checkout pop-up appears, showing the reserved seating chart for that specific ticket type. -
Choose Seats:
- Customers pick the available seats they want.
- Once a seat is selected, the system blocks it for 5 minutes, giving the customer time to complete the transaction.
- No one else can book that seat during the block.
-
Seat Status Indicators:
Legends show which seats are:- Available: Ready to book.
- Selected: Currently chosen by the user.
- Reserved: Already booked by someone else.
- Disabled: Not available for booking.
-
Multiple Seats, Multiple Attendees:
If a customer books multiple seats, they must enter each attendee’s name, phone, and address for proper attendee tracking. -
Organizer Visibility:
As the organizer or admin, you can view all attendee details from the booking detail page once the transaction is complete.
